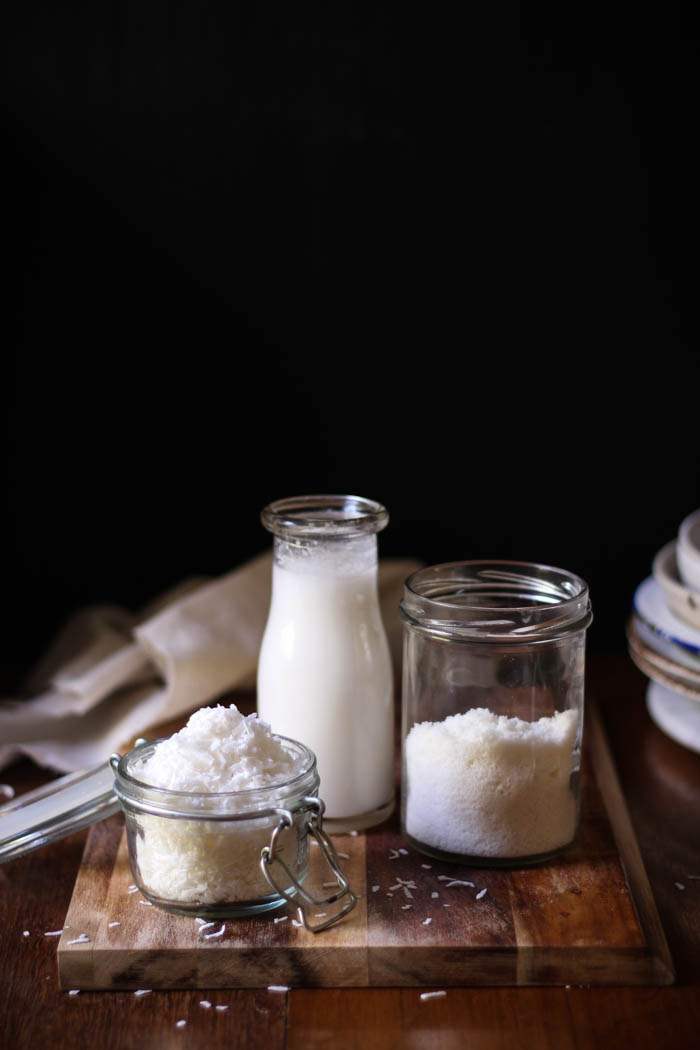
Coconut milk and flour is as popular in recipes these days as tie-die shirts in the 1990s (I owned two, if you were wondering, which were second only to my beloved Dylan McKay tshirt in terms of my favorite items of clothing). Coconut products in themselves are extremely versatile, being able to be added to both sweet and savoury dishes. They are also touted as having a whole range of health benefits, with coconut oil in particular being pushed as a leader of the superfoods pack over the past few years. These benefits include improving your heart health, increasing your metabolism and supporting your immune system (see this article to see references from scientific studies).
I started making my own coconut milk and flour at home a few years back – not only is it extremely easy, it’s far most cost effective and if you seek out organic shredded coconut to use then you’re guaranteed that there will be none of the additives that can be common especially with store-bought coconut milk.
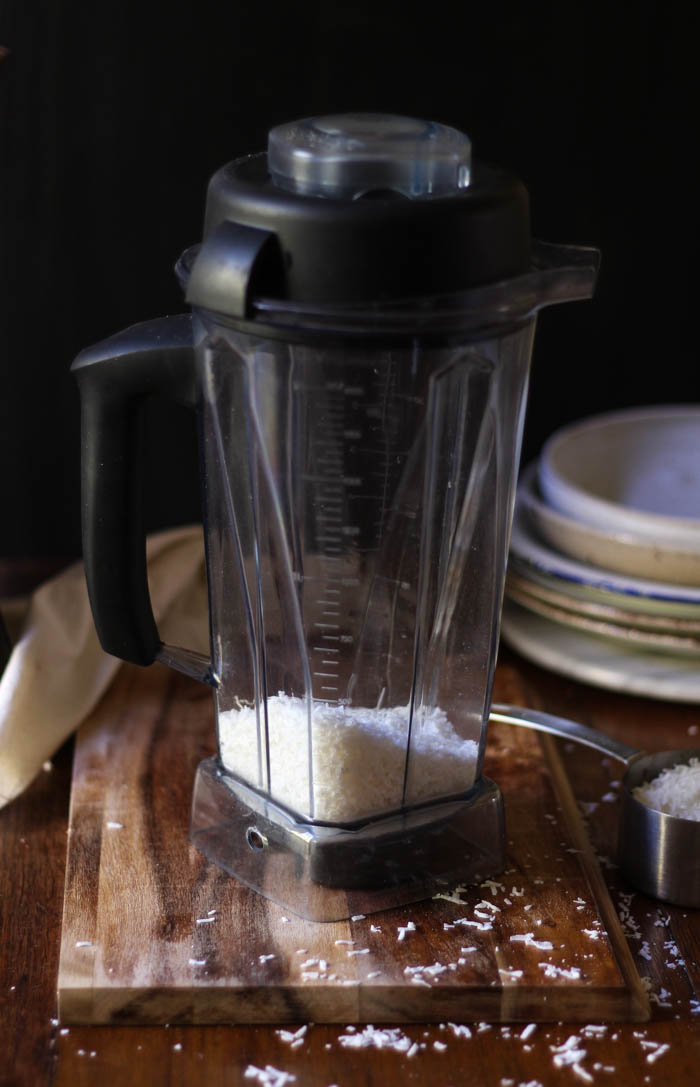
Step 1 – Soak the coconut
The first step of making coconut milk is to soak the shredded coconut. I do this in my Vitamix to save on space and washing up, but you could also use a bowl or glass jar.
In terms of quantity, I use 1 cup coconut to 1 cup hot water, however you could make this slightly more or less depending on the desired consistency required. More water will make for a thinner milk, and less will make for thicker coconut milk, I usually find that 1 cup of each is a good balance. Not that if you decided to go for less water, you’ll still need enough to cover the coconut whilst soaking.
You’ll need to soak the coconut at least an hour or so. Unlike some nut milks which yield a creamier end product if you soak the milk longer, I haven’t found the same with coconut, and usually don’t bother leaving it much longer than the hour for soaking. Note that for a creamier consistency, you can try either blending for a longer time, and/or adding in a handful or macadamia nuts or cashews as well.
Step 2 – Blend away, baby!
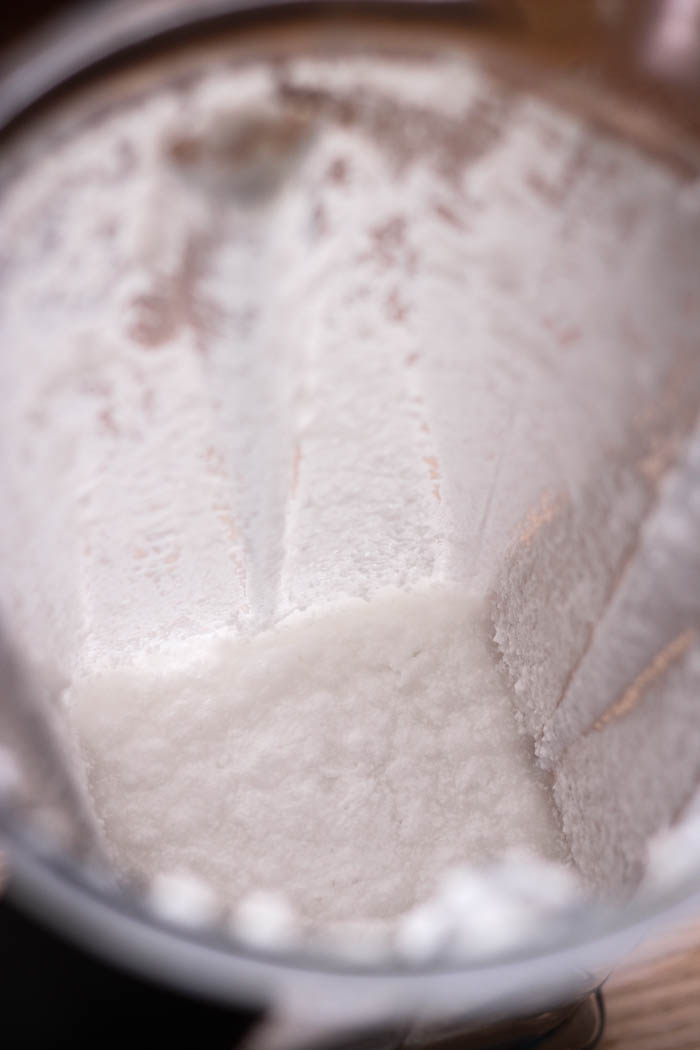
After you’ve soaked your coconut, the next step is to blend it. You’ll want to use the highest setting on your blender for this, and the timing will depending on how powerful your blender is. As a guide, a Vitamix/Blendtec will take about a minute, whereas in a less powerful blender you may want to blend for at least two – three minutes. The end product with be quite frothy and creamy, but will still have smaller pieces of the shredded coconut (see above picture to get a better idea of what the blended coconut/water mixture should look like).
Step 3 – Separate the liquid from the solids (ie strain the milk)
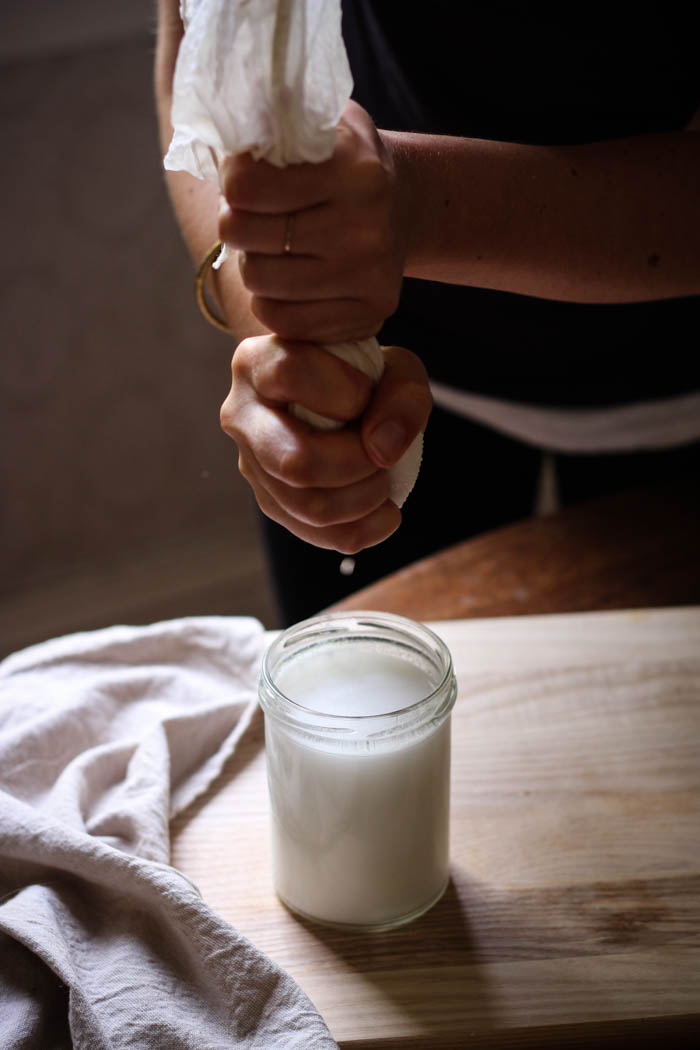
After you’ve finished blending, you’ll need to strain the liquid out using either a nut milk bag or some cheesecloth.
Strain into a glass jar, which you’ll need to place over a large bowl or sink to catch any drips (alternatively, strain the milk into a larger bowl first, then pour into a glass jar for storage).
Squeeze out as much liquid as possible – the more liquid you squeeze out, the drier the leftover coconut pulp will be and the easier (and quicker) it will be to dry out.
Transfer the coconut milk to a glass jar and store in the fridge up to three days.
Step 4 – Dry the pulp out
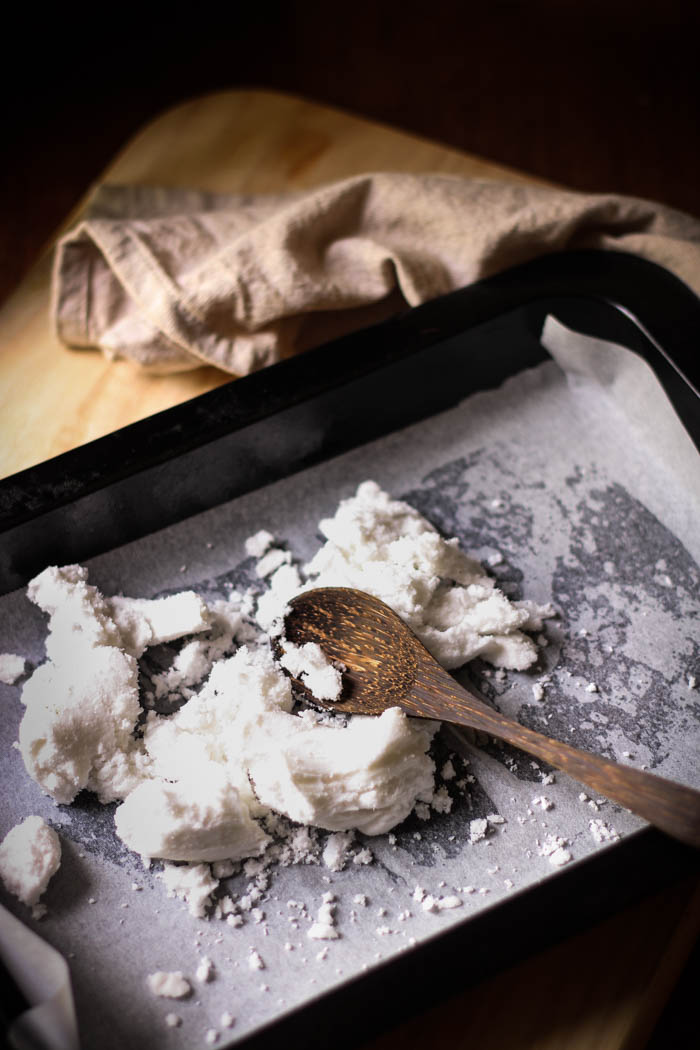
Preheat the oven to a low heat – around 90 – 100 C | 195 – 210 F. Spread the strained pulp out as thinly as possible on a lined oven tray and place in the oven. You’ll need to leave the flour in the oven until it’s dried out, which will depend on how much liquid you managed to strain out. I usually leave it around an hour, then turn off the oven but leave the coconut flour on its tray in the oven until cool – this just ensures that it’s completely dry – if there is any moisture in the flour it can go mouldy quite quickly!
If you have a food dehydrator (I don’t), you could obviously use this to dry your coconut flour out – as I haven’t tried this myself, I can’t comment on method or timings, but if you have or do try this method, please let me know how you get on in the comments below.
Once the flour is dry and cool, place it back into the cleaned and dried blender, and blend 30 seconds to a minute to break up any lumps and leave you with a more flour-like consistency.
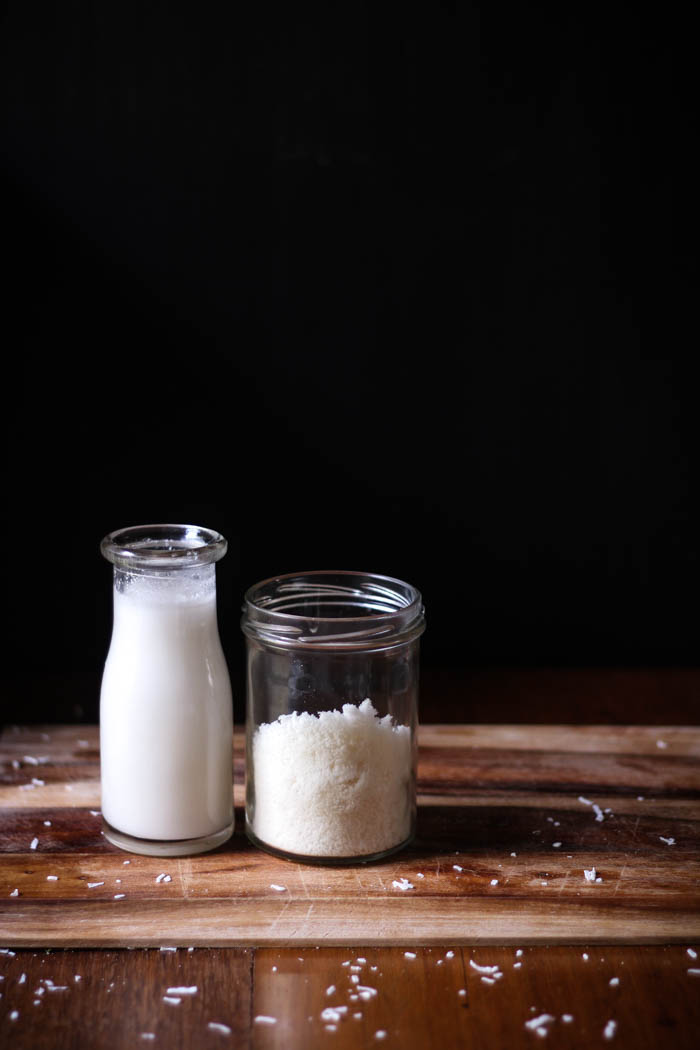

- 1 cup organic, unsweetened shredded coconut
- 1 cup hot water
- Preheat oven to around 90–100 C | 195–210 F
- Add shredded coconut and water to a blender and leave to soak an hour
- Blend at least a minute (depending on blender) until the coconut has broken down.
- Strain milk through a nutmilk bag into a container, making sure to squeeze out as much liquid as possible.
- Spread the nutmilk pulp out on a lined oven tray, and bake around an hour or until completely dried. Add to a blender and process until the texture is close to that of flour.
It is amazing what you can make out of a coconut. I love coconut milk over other nut milks in porridge and smoothies. It adds such a delicious flavour. Making it at home is so much cheaper than buying it.
Oh what I would do for a vitamix haha.
What a wonderful idea to make homemade coconut milk :) Looks so delicious
And your photos are (as always (; ) stunning!
I LOVE this!! Nothing goes to waste and it’s delicious. Thanks for sharing!!
Delicious! would love to know recipies for the coconut flour!
Thenka Meena – you can substitute the coconut flour for other types of flour, although it is a little drier so I would probably substitute 3/4 coconut flour, 1/4 almond meal – or add an extra Tbsp of oil to compensate. Skillet cakes work really well with coconut flour and they are incredibly adaptable too :)
I have a granddaughter that is allergic to nuts, so when using coconut flour I could also use chic pea flour in place of the almond flour correct? Or oatmeal flour – they are converting to Paleo which means no beans either. It’s a little more of a challenge finding different recipes without nuts, and beans. Thanks!
Hi Kathie – you could definitely use this process to make oat milk, though I have never tried making chickpea milk, I would think that like soy beans you would need to cook them first. With regards to making chickpea or oat flour, I would use this method here – http://tohercore.com/diy-chickpea-flour/
Thank you! I do have one more question though on the coconut milk. You have in the directions to strain twice, once after you’ve soaked and the other after you have blended. What is the purpose of doing this twice? Can’t you soak, blend then strain? Getting ready to make this now as I am looking to have some healthy snacks. :)
Hi Kathie – yes, you should be fine to soak and then blend straight away (this is what I do!) Looks like i have updated the recipe, but not the steps in the post – I’ll fix this now :)
Enjoy your healthy snacks! x