While making your own flour at home may conjure images of women in the kitchen in “the olden days” slaving away with what we may deem nowadays as unnecessary manual labour, I’m here today to try and convince you against this, and encourage you to try making your own flours at home.
If you have a high-speed blender, fresh flours can be incredibly easy to make at home and can also be a lot more economical. Unless you are buying processed white flour which is usually incredibly cheap (and, I would like to point out, incredibly devoid of nutritional value!) some flours these days can be quite expensive, especially if you are buying organic, wholegrain, heirloom and/or sprouted flours. All of these labels seem to be incredibly fashionable at the moment and attract a high pricetag – arguably with good reason (the process for gaining ‘organic’ certification can be a long and expensive one) which can often deter the budget-conscious shopper.
But most, if not all of these fancy fours can usually be made quite quickly and easily at home. And all you really need is a high-quality food processor like a Vitamix. Okay, okay – so I’ve just tried to convince you that it’s more economical to make your own flour, and now I’m telling you you need an expensive electrical appliance to do so… A bit of an oxymoron I know! But if you are lucky enough to already own a high-powered blender then it’s definitely economical for you, and if you don’t then there are other options such as a coffee or spice grinder which can be picked up quite cheaply.
Another plus of making your own flours at home is that – as with most homemade foods – homemade flour tastes better. It has a fresher flavour than most store-bought flours, and as it’s so quick to do, it’s easy to grind it fresh each time you want to use it – or if you know it’s a flour you’ll use often, then grind it in bulk and store in an airtight container as you would normal flour. It also means that you can experiment more easily with different types of flour. Not only can grind all the regular grains and seeds, as well as nuts, but you can also grind pulses and beans.
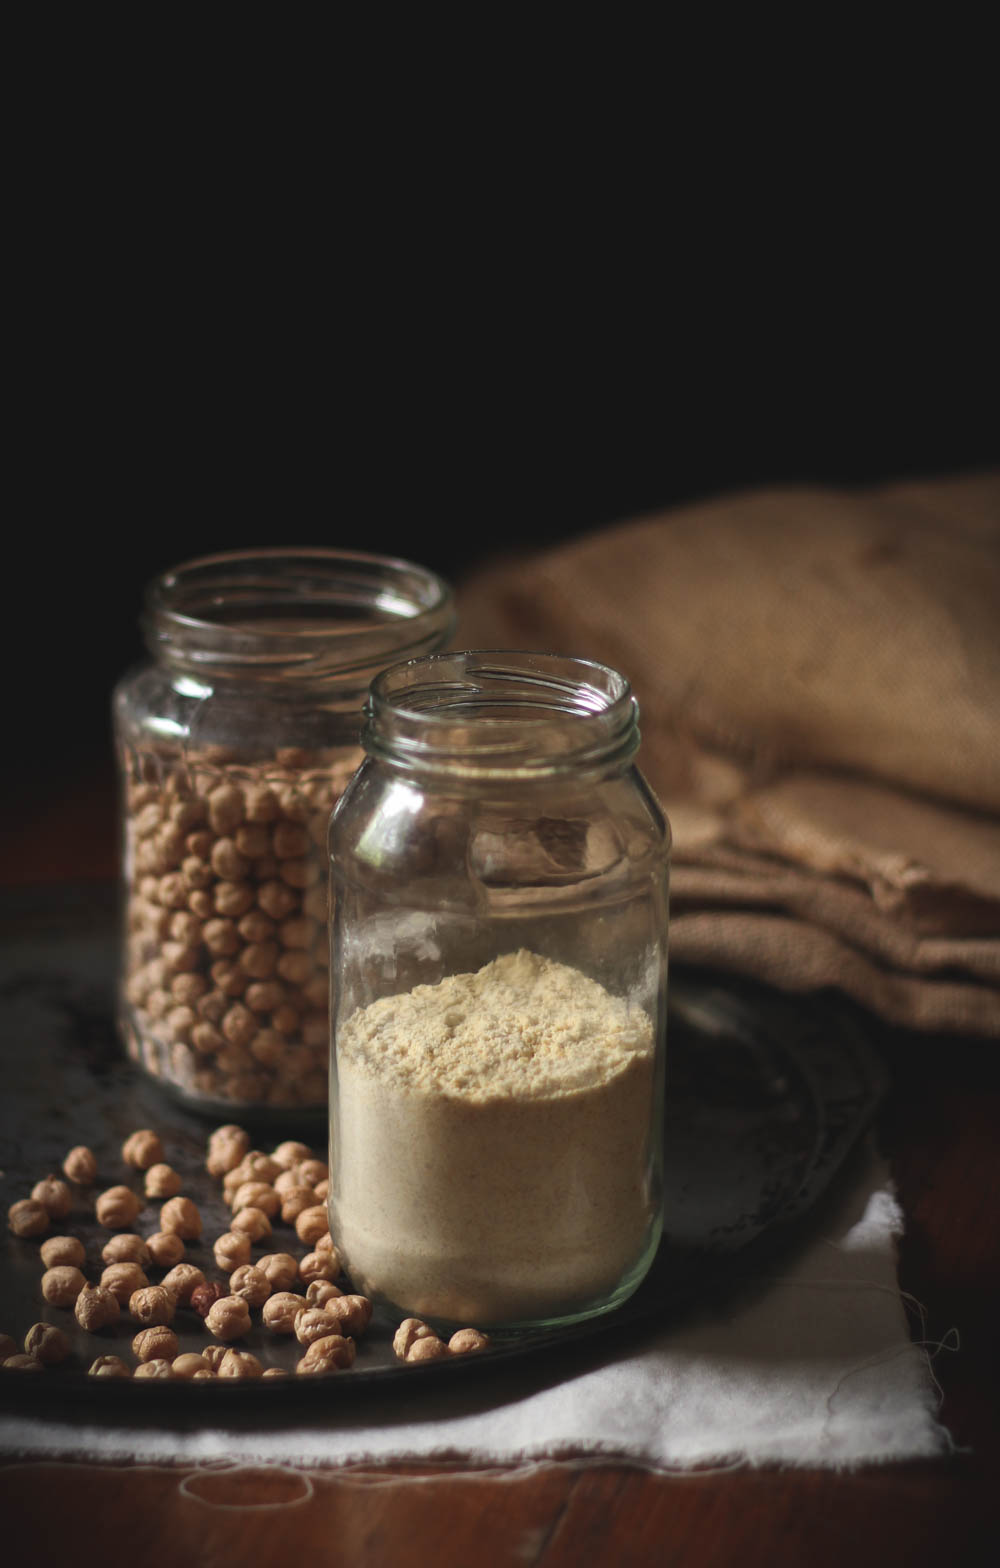
Today, I’m sharing with you how to make your own chickpea flour (also known as garbanzo or besan flour). This can be added to veggie patties and burgers, used to make pie crust or used in cookies and other sweet treats. And later in the week, I’ll share with you my current favorite chickpea flour recipe.

Step 1 (optional) – Sprout the chickpeas
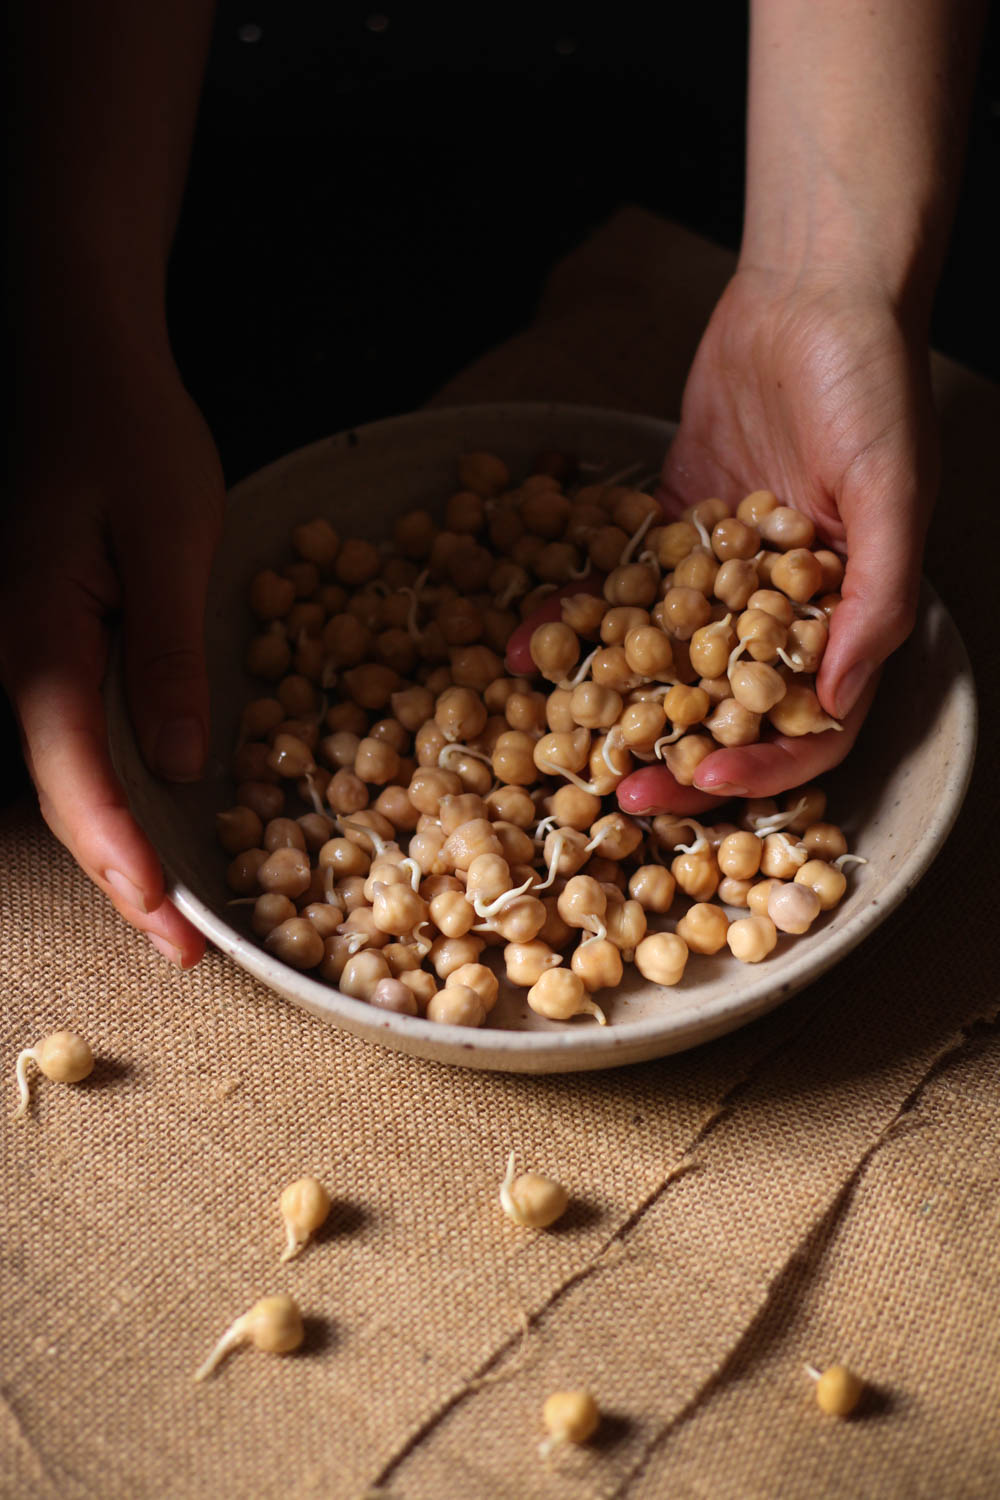
I usually use dried chickpeas here to make my flour, however, for increased nutritional value you can sprout and then dry the chickpeas before grinding them into flour. To do this, add a cup of chickpeas to a large jar, loosely cover with some cloth and soak 12 to 24 hours, then rinse well. Drain the beans and place in a sprouting container and rinse every 6 to 12 hours. Note that if its warm or humid where you live, you will need to rinse more frequently to avoid mould growing.
Small tails should appear around the second day – after this you can continue to sprout the beans, but make sure not to let the tails get too long – after they grow to the length of the bean, the bean will start to develop a bitter taste.
Once sprouted, the beans will need to be dried in a food dehydrator. The time for this will depend on a few factors – how big the chickpeas are (some seem to be a lot bigger than others!), how dry they are after you rinse them after sprouting (if you dry them off well with a tea towel and let them air dry half an hour or so it will speed up the process a little), and of course, it will depend on the model of food dehydrator that you have. As a guide though, it should take around 18 – 22 hours.
Alternatively, you may be able to dry them in your oven at it’s lowest setting, however note that this will mean that the beans are no longer “raw”, as the lowest setting in most conventional ovens is above the required 117 F | 47 C temperature to still classify food as raw. The other draw back of drying them out in the oven is that you will need to run the oven for quite a long period of time, often overnight.

Step 2 – Grind the chickpeas
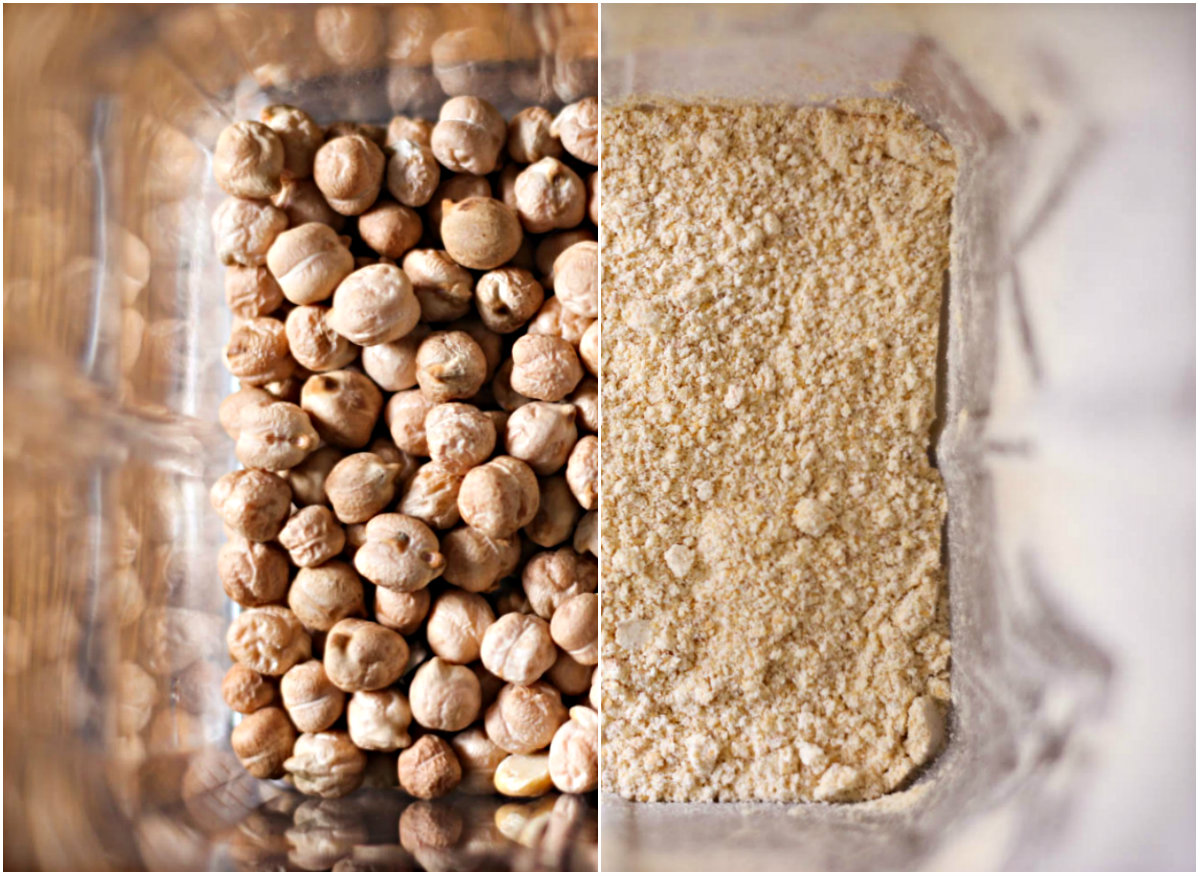
To grind the chickpeas, add the dried chickpeas (ie either straight out of the pack or if you have sprouted them, then dried via a dehydrator) to a high-powered blender such as a Vitamix.
Turn the machine on, increasing the speed until you reach the maximum. Blend until the chickpeas have been ground as finely as possible. You may need to stop to stir any larger pieces out of the corners of they get stuck there.
The end consistency should be quite fine, though if there are a few larger bits don’t stress – you’ll deal with those in the next step.

Step 3 – Sift the chickpea flour
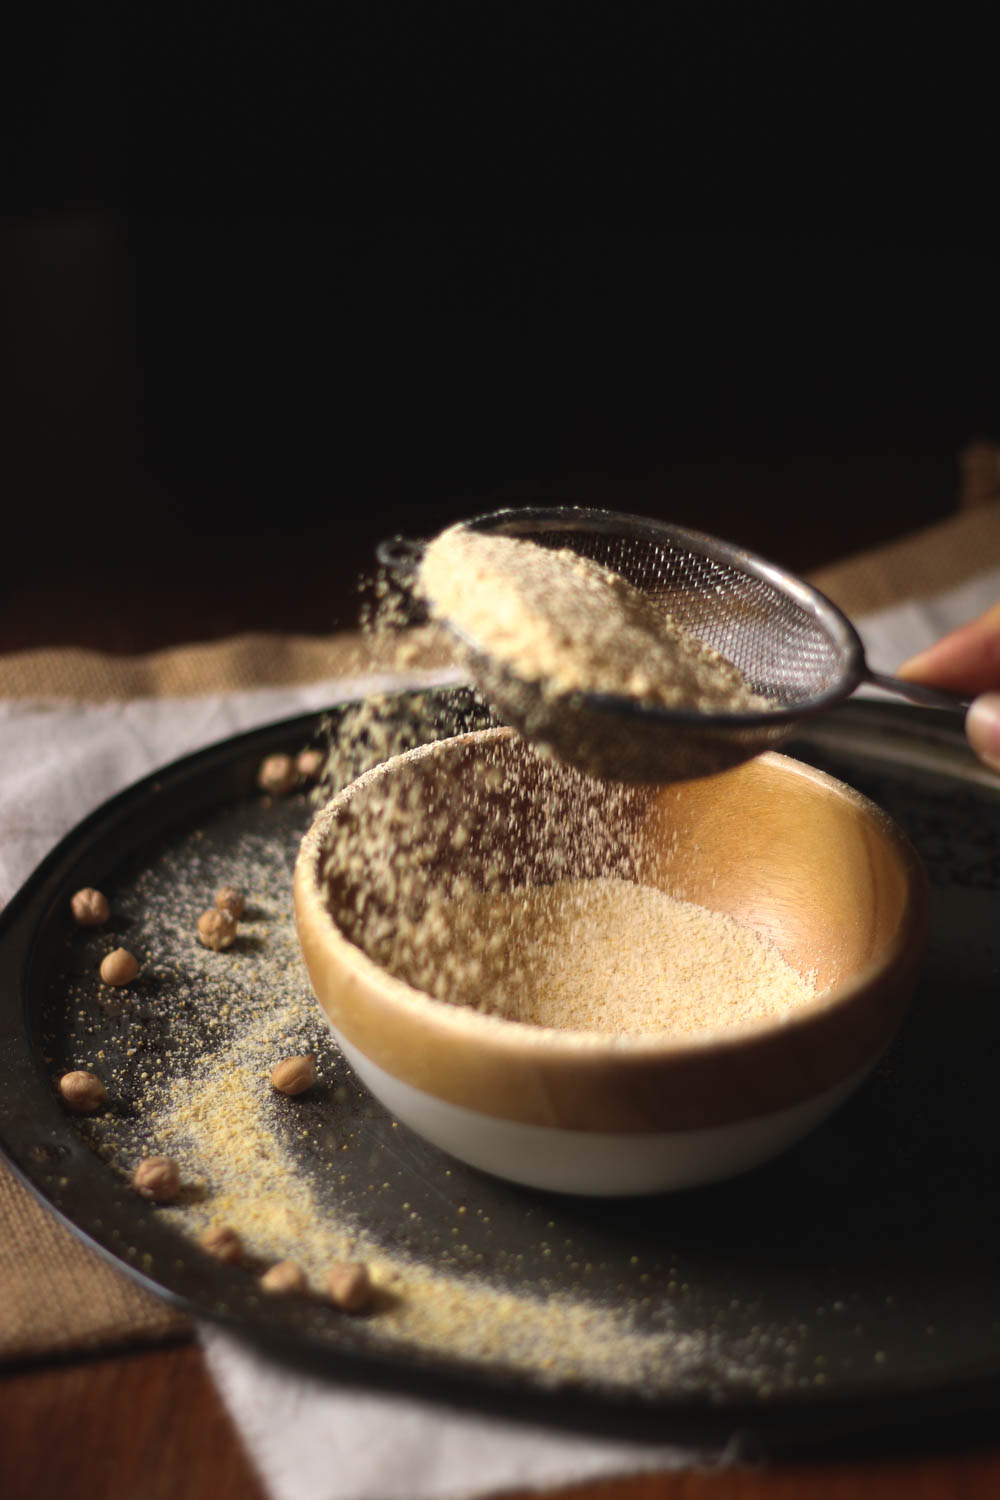
Using a fine mesh sieve, sift the flour into a bowl. This will seperate any larger pieces from the chickpea flour. Once you have passed all of the flour through the sieve, return any larger pieces that didn’t fit through the sieve back to the blender and process again to break them down further. If there are only a few smaller pieces and they do not blend when you turn the machine on, increase the speed to maximum and the power of this should force the pieces up and start to grind them.
You may need to repeat this step once or twice more to get all pieces finely ground.

And there you have it – freshly made chickpea flour! This flour can now be used straight away, or store it in an airtight container. I usually make it in smaller portions, but if you make it in bulk, you might want to store it in the freezer to increase it’s longevity.

- 1 cup dried chickpeas | garbanzo beans
- Add the dried chickpeas to a high-powered blender and turn on, increasing the speed to the machine's maximum. Blend until the chickpeas have been ground as finely as possible.
- Using a fine mesh sieve, sift the flour into a bowl, and any larger pieces that did not fit through the sieve, return to the blender and process again to break them down further.
- You may need to repeat this step once or twice more to get all pieces finely ground.
- Store in an airtight container, preferably in the freezer.
- **Note For full instructions and tips, refer to the detailed steps in the body of this post.
Get more step-by-step guides for wholefood pantry staples here
What an informative post Dearna. I have contemplated making my own sprouted flours before but have not made it a priority. Sprouted flour of any sort is hard, if not impossible, to come by around here. Have you made other flours as well…is chickpea your favorite/easiest to make?
Thanks Katie! Yeah I haven’t been able to find my own sprouted flours locally, only if I buy online. I have been playing around with lots of flours lately – buckwheat is very easy as is oat flour. I am thinking I’ll try black bean flour next though I haven’t decided what I’ll make with it yet… Will have to experiment :)
How can you tell if they are indeed sprouted flour or whether they are non-sprouted flour advertised as ‘sprouted’?
Hi there – in relation to commercial flours, I’m not sure if there is a way to tell from the actual flour sorry. If you were wanting to buy sprouted flour, I would recommend buying from a reputable brand to ensure that they actually are sprouted if you are worried about this.
I wish I had a vitamix and a dehydrator! Especially so I could make some of this! I love chickpea flour – it has such a great flavour and it is chock full of protein! Makes such good wraps :)
Hey Katie! I have been on the low carb diet for about 3 months now and really enjoy doing this, but the price of the flours are ridiculous!! I invested in a Vitamix…something I’ve been wanting for several years!! HAPPY DANCE!!! Now I want to make almond, coconut, and white bean flours… Know about the first 2 but not sure about the bean one. Will this work for any white bean or do they need to be small navy type beans??
ALSO, can I make the flour from the left over bits from almond and coconut milk??? Thank you!!
Hi Cristal! Yes some flours can be very pricey – making your own is definitely the way to go! You should be able to make bean flour from any bean using the same method as for chickpeas – ie in the Vitamix and then sifting any bigger pieces out.
And yes, you can make flour from nut milk pulp, but you need to fry it out first either in the oven on low heat or in a food dehydrator.
You mean dry not fry.
Yes sorry – you need to dry them out.
Do you wash the dried chickpeas first? If so, how do you personally dry them?
Hi Jessica, no I don’t wash them first so I don’t have any tips on that I’m afraid.. If you did want to wash them though I would pat them dry and then lay them on a dry clean tea towel and let them dry out in the sun (or alternatively an oven turned off but at the lowest heat overnight might work).
when you say “dried chickpeas” you mean straight out of the package right? i apologize if this is common knowledge, but just want clarity lol :) thank you-
Hehe, no worries at all Tonda – and yes I meant straight out of the packet (as opposed to the canned ones in brine) :)
Tonda,
I had the same question! So glad you asked.
Yay I was hoping I wasn’t the only one thinking that
Hi there. I have a dehydrator and am looking to buy a Vitamix to make flours and nut butters. Which Vitamix do you use please? I have been told a 5200 (apparently also known as a Total Nutrition Centre I think) would do the trick, but thought I would ask around. I would be grateful if you could give me any advice. Many thanks. Bel
Hi Bel – I have the 5200 TNC and it definitely does the trick, it’s a little powerhouse! You still need to sift the flour to remove the larger parts which havent broken down enough, but I think you would need to include this part no matter which blender you use. I also have the newer S series Vitamix which also works, but the 5200 is far superior for most things, so if you can afford it, I’d definitely go with the 5200. Hope this helps!
Hi Dearna, many thanks for your prompt response and help. I was just a little confused with all the different names they give the same gadget! Am persuading my husband that I need to buy quality as cheaper brands might need replacing and would therefore work out as a false economy. Love the idea of the sprouted chickpea flour and looking forward to trying out. Hasta la vista . Bel
Howdy. Me again! A quick question. Do you think it’s worth getting the extra dry container for the total nutrition centre for flour and bread (as they recommend) or does the original machine do the whole business adequately? Many thanks. Bel
Hi again Bel :) I just have the original container and I think that does the trick. I would suggest to get just the original machine in the first instance, and you could always buy the additional container later on if you felt you needed it? – D
Howdy. Me again! A quick question. Do you think it’s worth getting the extra dry container or does the original machine do the trick?
Hi Dearna, thank you for that and sorry for being so pedantic. Very grateful for your advice. My husband has agreed that I can have my Vitamix if he can eat what I make. No probs. business as usual. Have a fabulous Christmas and New Year xxxxx
How do you typically accommodate for rice/bean /oat flour as opposed to normal all purpose flour? My son has a wheat allergy and I’m new to this lol
Thanks !
Hi Vee,
Unfortunately, there is no 1:1 replacement for all purpose wheat flour; usually a combination of wheat-free flours is required to get a similar outcome to using wheat flour. You can find an example here – http://alittleinsanity.com/all-purpose-gluten-free-flour-mix-recipe/
There are other options too such as using almond meal instead of flour which is great in cakes, making them more dense and moist. Coconut flour can also work really well in cakes – though I would mix it half and half with another flour or almond meal.
Wholegrain flours which are less processed than traditional AP flour often is darker in colour and has a stronger flavour than AP flour. I would try blending the flours when you start out and include some more neutral flours in your mix like rice flour until you get the hang of it and work out what flavours you like.
Good luck, and happy baking :)
Thank you !
Love this idea. I recently bought a hand cranked mill and can’t wait to make flour. I’m working on a protien powder substitute and was wondering about eating this flour raw. I plan on using store bought dried beans. I have to soak them then dry them (not going to sprout them due to time constraints) or can I just rinse, dry and grind. I work 6 days a week so faster is better right now. Thanks in advance.
Hi Danno – sorry for the delay in getting back to you! Generally speaking, all pulses should be prepared by soaking and then either sprouting or cooking first. This lessens the amount of phytic acid which is an anti-nutrient and makes them more digestible. I would suggest at a minimum you either dry roast them, or soak and then dry them before milling. For the best nutritional benefits, I’d suggest soaking, sprouting and then dehydrating. Hope this helps!
Hi,
Excited to try to make my own Chickpea flour as I already own a Vitamix, however, what brand dehydrator do you own? I know very little about the various dehydrators out there.
Thanks!
Hi Sarah. I don’t own a dehydrator unfortunately, so I don’t soak my chickpeas before grinding them. You could potentially dry the soaked chickpeas in the oven on a low heat as well, but I haven’t done this myself so not sure how they would turn out. Sorry I can’t be much help here! x
Sarah, there are several great dehydrators out there but when getting started I’m not sure I’d spring for the “Cadillac” of dehydrators, the Excaliber. Start out with a less expensive but well-rated machines. I got a Nesco a few years back, bought a few extra trays, some trays used for smaller particles (like dehydrating chopped veggies & cooked ground beef) and some fruit rollup trays (which I’ve been using for making sweet potato bark and mashed potato flakes). This has been working out well for me. Best of luck to you.
FYI – You can buy a cheap dehydrater on Amazon for under $35. I got one and it works fine.
My question is about grinding garbanzos in Vitamix. I only have one Vitamix container and noticed that Vitamix sells containers for dry grinding, which possibly has different shaped blades. My question is can I use same container where I make my smoothies, hummus, mix batter, to also make garbanzo flower.
Thank you so much!
Hi Dana – I use the same container for everything. I think Vitamix recommend using the dry container, but I find that the other one works fine for everything :)
I ‘m wondering do you remove the sprout before you dehydrate the chickpea?How long do you dehydrate them for?
How long would you dehydrate for in dehydrater?
Hi Lore – sorry for the delay in responding to your comment. It will depend on a few factors – how big the chickpeas are (some seem to be a lot bigger than others!), how dry they are after you rinse them after sprouting (if you dry them off well with a tea towel and let them air dry half an hour or so it will speed up the process a little), and of course, it will depend on the model of food dehydrator that you have. As a guide though, it will take around 18 – 22 hours. Hope this helps!
I’m still confused. Your photo shows a sprouted garbanzo bean, yet your procedure says to use dried garbanzos and grind them in the Vitamix directly (assuming you mean that the beans have not been previously sprouted). You answered a question saying that you don’t own a dehydrator, so you don’t soak the garbanzos before grinding them. You answered another question saying that all pulses should be soaked and then sprouted or cooked.
So can I just take the dried garbanzo beans straight out of the package and grind them in my Vitamix to a flour? I really would prefer not having to sprout first.
Hi Carol – so sorry for the confusion! You can sprout the beans if you wish, and then dry them out in a (low) oven of food dehydrator before grinding, OR you can just grind the dry beans without the sprouting step. This is in the text of the post, but I appreciate that it isn’t clear just from looking at the images and the recipe. I will update it soon so that it is clearer.
In short though, yes you can grind the dry beans WITHOUT sprouting them first :)
This is just lovely! I bought 2 bags of chickpeas today and had no idea where to go from there. Now I do. And I can make sprouted flour too! FANTASTIC. I have so many recipes lined up for this! Can’t thank you enough!!!
Thanks so much Jess – enjoy your cooking :) -D x
Hi again!
I made the chick pea flour! For myself I made regular flour for chick pea tortillas. They were just what I wanted. For my lil four-legged baby, I made the sprouted flour for tuna snacks. (I won’t eat processed foods, I don’t want her eating them either!) She gave it, multiple tail wags, a couple barks for more and now she’s doing good-time feel-good rolls on the sofa. I’m roughly translating that into 5 stars! (But I suspect it’s probably higher.)
Thanks again!
Jess
Can I sprout the chickpeas n blend to use instead of drying them out to make the flour? If so, what is the soaked/sprouted chickpea ratio to flour?
Ps, this is for baking. Thanks!
How much flour does this recipe make?
Thanks!
Hello! How much flour comes out of a cup of garbanzo? Or how much does this recipe makes?
Thanks!
Hi Nubia! I cup of dried chickpeas should make around 3/4 cup flour :)
Hi tohercore! Great help for making homemade chickpea flour. I wanted to ask you which grind mill do you use. Thanks.
Hi Naghma, I use Vitamix to ground the chickpeas to make flour.
Hi there, I know that there is danger in eating uncooked beans or bean flour. I’m wondering if you know whether there is danger in making your own bean flour (without cooking and then dehydrated the beans first) and then using it in recipes like falafel etc. I’m thinking that as long as the food you are cooking is well cooked through without any crunchy bean flour bits, then it’s probably fine. What do you think? Any bad experiences you’ve had with stomach aches after eating something with DIY bean flour?
Thanks for your help!
Lisa
Hi Lisa, I havent had any trouble with stomach issues. Because it’s ground it will cook a lot quicker, so as long as whatever dish you cook it in is cooked properly, I think you should be okay :)
Love this topic. Can you tell me if it is still safe to use garbanzo beans that have been soaking and rinsed for 3 days? I plan on having them sprout and make chick pea flour.
Thank you
Hello! This is so interesting! I had pakora (an Indian vegetable fritter made with a chickpea-flour batter) at a community thanksgiving meal yesterday and it made me interested in chickpea flour. While I am sure I can buy this flour at my local Asian grocery store, I would like to make my own. So, thank you for your instructions.
Wondering if anyone has ever experimented with grinding cooked, canned, sprouted or even just soaked chickpeas and making the batter directly from this (it would be sort of like using hummus). When I sprout wheat, I have found that if I soak the grains for 24 hours and then drain and rinse them as one would for any sprouts, the soaked and sprouted grains can be easily ground in a regular kitchen grinder or food processor. It is easier on the motor of such a machine if the grain or beans are well soaked instead of just being ground up raw, which is why I was interested to see how you sprout the chickpeas before grinding. But when I make sprouted wheat bread, I grind the sprouted wheat while it is still moist and then use it right away to make my bread. It comes out of the grinder already looking like a stiff dough. I just add my other ingredients and keep going. If I do not use it right away, I measure it into portions of the right size for using later in my bread recipe, and freeze it in individual packets.
For this reason, I am wondering if I could grind cooked chickpeas and use them right away to make the batter for one of the chickpea-flour recipes. I plan to try it anyway!
Thanks again for your helpful instructions.