For years I thought that granola was a biscuit. Im not sure where I got that idea from. In Australia, we call granola ‘ toasted muesli’ (although that said, it is becoming more common to find it labelled as ‘granola’), and when I had seen or heard of granola, I assumed it was in reference to a biscuit (or cookie, if you will).
A few years back I was staying with family friends in America and they asked what I wanted for breakfast – “would you like some granola?” I’d heard that America was the home of fast food, but biscuits for breakfast!? Too polite to decline, I said yes, and was pleasantly surprised – although somewhat confused – when they brought me out a bowl of toasted muesli with milk, yoghurt and fresh fruit on the side. I must have looked a little puzzled after the mix up, “Oh. Do you not like granola?” Too embarrassed to admit that I was expecting them to serve me a plate of biscuits for breakfast, I happily ate my granola with all the trimmings as though it was what I had been expecting all along.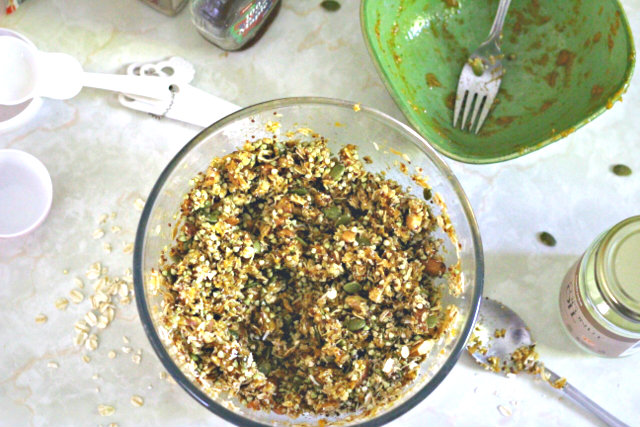
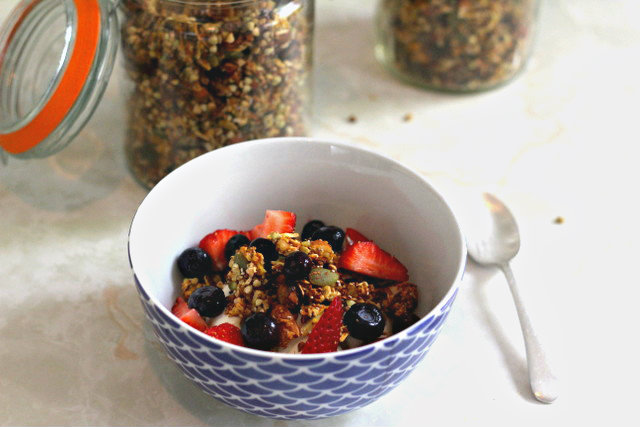
I’d previously only tried toasted muesli back home in Australia a few times in the past – it was quite expensive to buy compared with other breakfast cereals and the thought hadn’t yet crossed my mind to make my own, plus I found it to be quite sugary and often loaded with dried fruit. This granola – whilst still quite sweet – had crunchy little clusters of nuts – win! – and less fruit. I’m not adverse to dried fruit, but not a huge fan of it in breakfast cereals – I prefer mainly whole grains, nuts and seeds – and I very much dislike sultanas. And raisins. And currants. Any dried grape-like fruit really. I have been laughed at many times over the years by friends and family for individually picking out all the sultanas from any offending bowl of breakfast cereal I have been served, ever.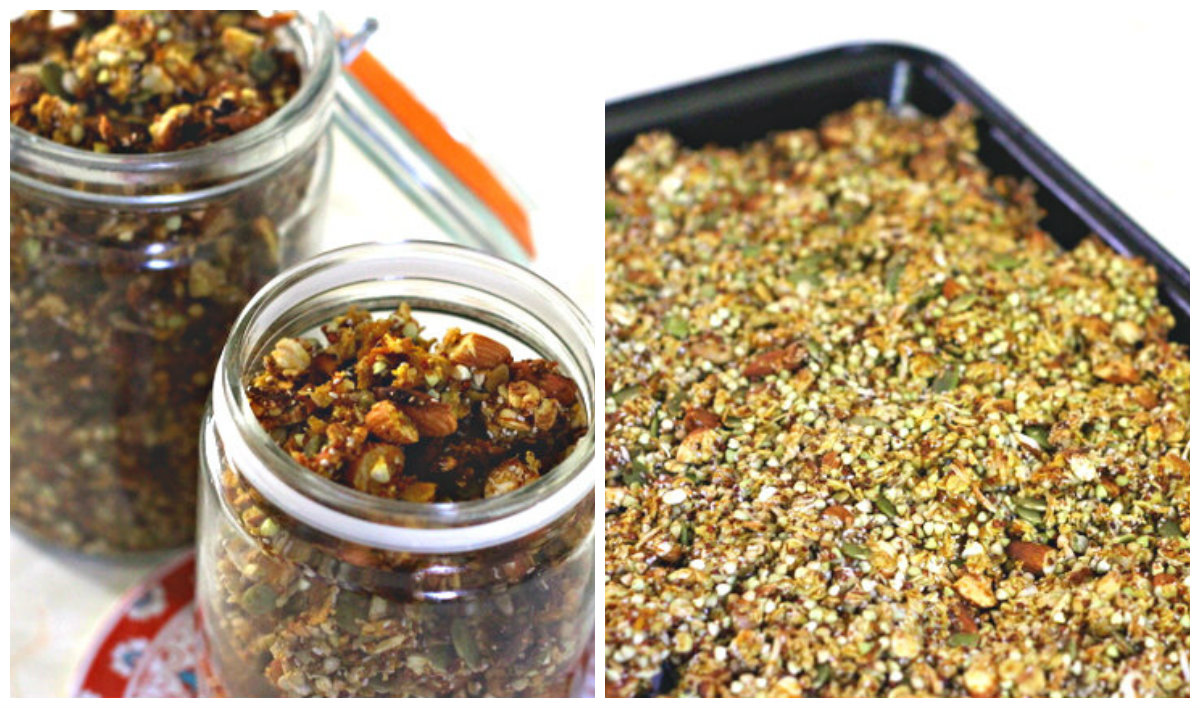 Over the past few years, I have tried various methods of making my own granola. Its a great way to go – you can add in whatever you want, and keep those pesky sultanas at bay! Every effort so far has been delicious (bar one not-so-successful endeavor where I forgot to set the timer on the oven), although until now I have been unable to master the clusters. This all changed the other day when I received an email from a friend containing a link to some granola she had just made – “you have to try this! It is so good, I cant stop eating it”. The next day I went and stocked up on ingredients and set about to make it. I have adapted the granola ingredients slightly – and seeing that I am on a bit of a pumpkin kick lately, I added in a cup of roast pumpkin to the wet mixture, an idea that was inspired after reading Green Kitchen Stories banana granola recipe. The result is crisp yet chewy little clusters of whole grains, seeds and nuts, flavoured beautifully with golden pumpkin, spices and maple syrup. You can serve it the traditional way, with milk or yoghurt, add it on top of your smoothie or porridge, or just eat it straight (and trust me – you wont be able to resist). This stuff is addictive – you have been warned.
Wholegrain pumpkin granola
Adapted from Hungry Hungry Hippie, inspired by Green Kitchen Stories
Dry ingredients
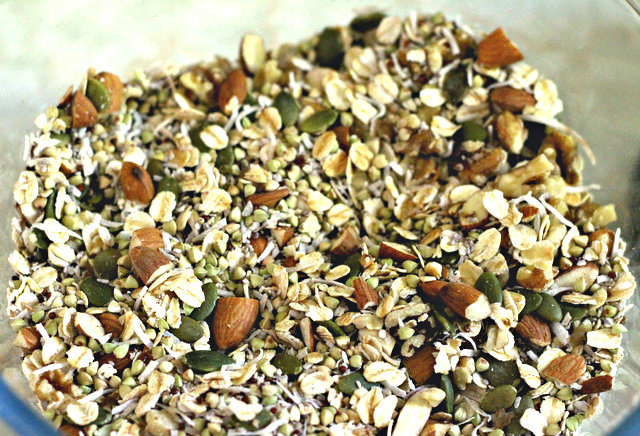
1 Cup rolled oats
3/4 Cup raw buckwheat
1/3 Cup quinoa
1/2 Cup almonds, roughly chopped
1/2 Cup walnuts, roughly chopped
1/4 Cup pepitas (pumpkin seeds)
1/4 Cup chia seeds
1/2 Cup shredded coconut
Wet ingredients
1 cup roasted pumpkin
3 Tbsp maple syrup
3 Tbsp coconut oil
Spice mix
2 tsp cinnamon
1 tsp nutmeg
1 tsp ground ginger
Preheat oven to 200C (290F). Line a baking tray with baking paper, sprayed or coated lightly with oil.
Combine dry ingredients in a bowl.
Mix together wet ingredients in a seperate bowl, using a fork to mash the pumpkin (you could also do this in a food processor I imagine). Add in spices and mix to combine.
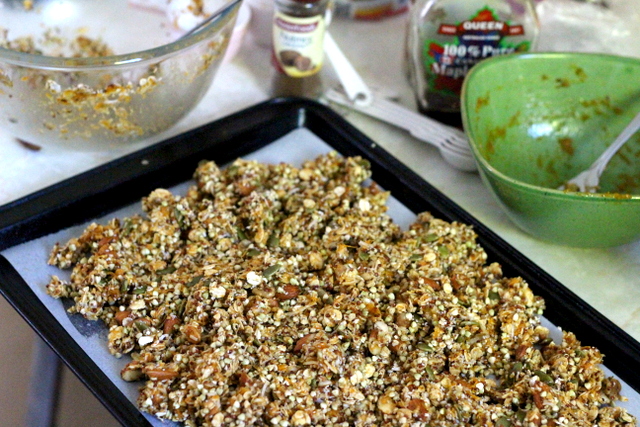
Add wet ingredients to dry and then mix to combine. Add to your prepared baking tray and spread out evenly.
Bake for 15 – 20 minutes, checking after about 10 minutes to ensure the edges arent burning.
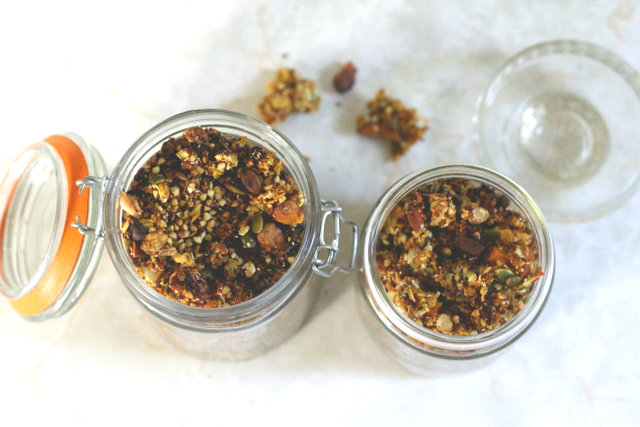
Once cooked, leave in the pan to cool – this is key to getting those clusters! – then store in airtight containers once cool.
I always pre-rinse quinoa to avoid the bitter taste. I spread the rinsed quinoa on a paper towel to dry it as much as possible before making the granola. The quinoa was barely damp when I started the recipe. With that in mind, this recipe still took almost 2 hours to be cooked dry, including raising the oven temp to 250F in the last 45 minutes. It is very tasty and the texture is great.
Ah, I probably should have mentioned to rinse the quinoa, thanks for pointing that out :) I was using pre-rinsed quinoa so I didnt wash it this time, therefore mine was dry when I started cooking. Glad you like the end product :)
I just re-read the recipe and realized I cooked it at the wrong temperature (200 instead of 290F), so please disregard that part of my last comment.