I have been playing around with fermenting water kefir at home for a while now and thought I would share some of my learnings here with you. I try to include a daily probiotic drink – either kefir, kombucha (or both) – and have noticed such a difference in my health since I started doing this around 6 months ago. I haven’t had even a hint of a cold since and on my recent holiday I was the only one who didn’t get the ubiquitous Bali belly. I’ve written a little more on why probiotics are so important here.
What is kefir?
Kefir is lacto-fermented beverage made from fermenting kefir grains in either sugar water or milk. Water kefir is a great dairy free alternative to the traditional milk kefir which has been popular in Russia and Eastern European countries for centuries. Kefir has grown in popularity in Western countries over recent years due to the health benefits associated with the drink.
Where do I buy water kefir grains?
Kefir grains cannot be made, and therefore you will need to source your kefir grains from a generous friend or purchase them online. The best place to start your search for kefir grains is Facebook groups/online markets where you may be able to find someone local who makes their own kefir – the grains multiply and once you have enough for yourself most people are happy to pass their excess grains on. If you aren’t able to find any this way, you can buy dehydrated grains online (if you are in Australia, you can buy fresh and dehydrated grains here, otherwise eBay is a great place to look).
How do I start brewing?
If you have bought dehydrated kefir grains, the first step is to rehydrate them. You should receive instructions with the grains on how to do this, however I found my instructions to be a little confusing, so I have tried to simplify the process for you a little bit here.
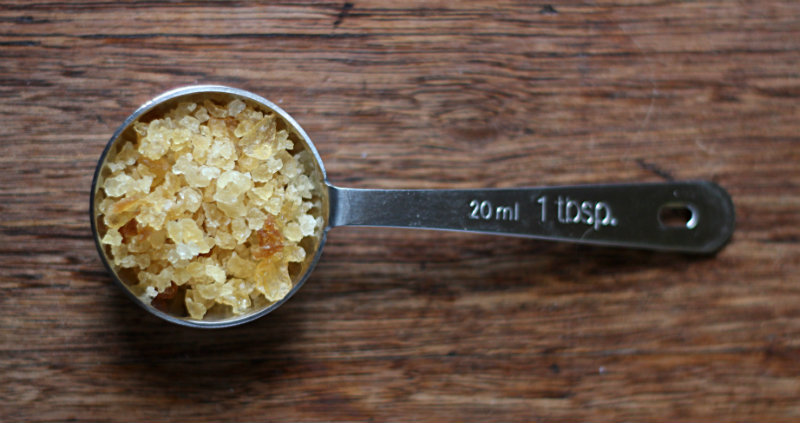
Dehydrated kefir grains
Your dehydrated kefir grains will somewhat resemble large grains of raw sugar (see above). Once rehydrated, they will become clearer in appearance and softer, with an almost milky shade to them (see below).
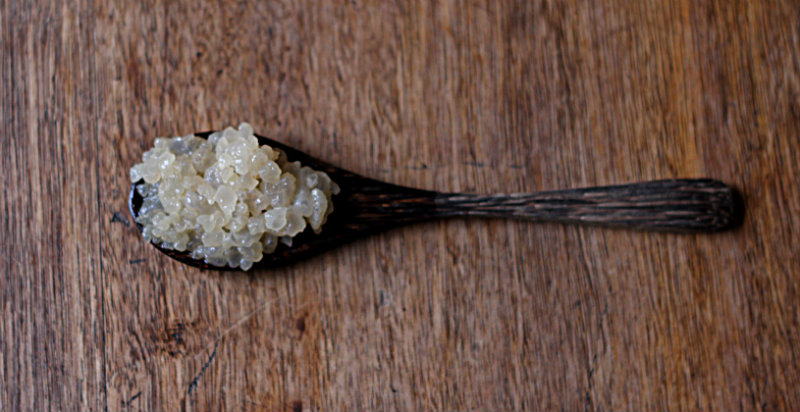
Rehydrated kefir grains
Rehydrating kefir grains
1. Clean a large 1.5 – 2 litre glass container. Add 6 Tbsp sugar and 4 cups water and stir to dissolve.
2. Once dissolved, add the water kefir grains using a plastic or wooden spoon (do not use metal).
3. Cover with a cloth (I was supplied with one, but any breathable fabric will do – you want to stop ants or other unwanted intruders being able to stop the sugary water by for a visit) and rubber band, and place somewhere where it wont be disturbed for a few days (I just leave mine on the bench)
4. Once the grains have plumped up (around 3-4 days, but no longer than 5), remove the grains and discard the water.
Notes: The above directions are based on 1 Tbsp dehydrated grains – adjust accordingly if you have more than this. You may need to repeat this process to get the grains to fully rehydrate – you’ll know its working when the water starts to get bubbly, and starts to develop a slightly (very slight!) acidic smell – almost vinegary. The taste will be quite sweet still, though less sweet than the sugar water you started with.
Making water kefir
Once you have rehydrated your grains – or if you have sourced fresh grains to begin with – you can start to make your water kefir.
1. Clean a large 1.5 – 2 litre glass container. Add 4 Tbsp sugar and 4 cups water and stir to dissolve.
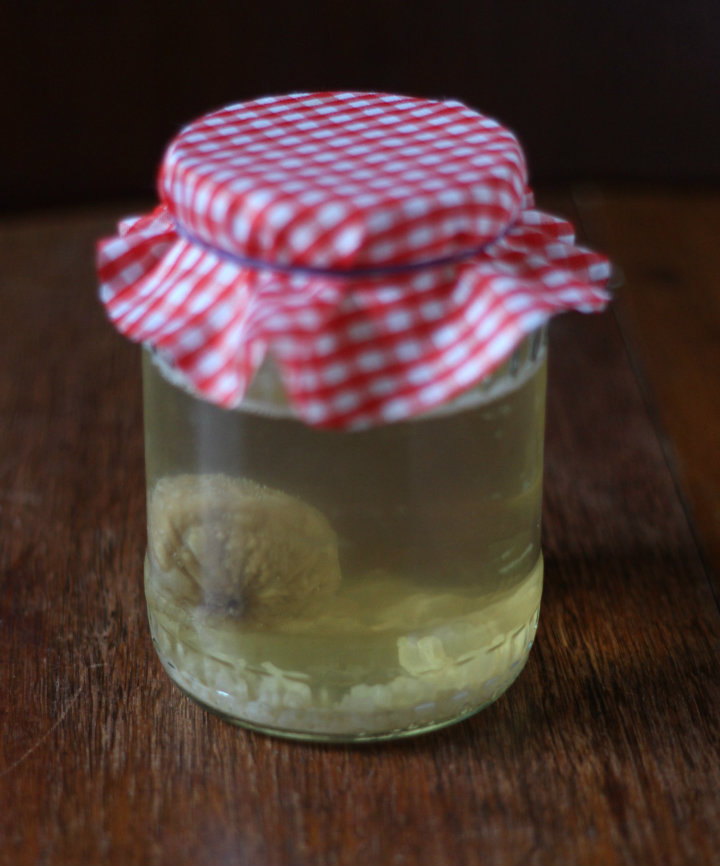
2. Once dissolved, add the water kefir grains using a plastic or wooden spoon (do not use metal). You could also add some dry fruit at this stage, such as a dried fig or prune, to add some extra flavour and sweetness.
3. Cover with a cloth or piece of breathable fabric and rubber band, and place somewhere where it wont be disturbed.
4. Keep an eye on the kefir to see when it has started to ferment. The kefir water will change in colour (it should go from clear to slightly opaque) and bubbles start to rise from the kefir grains when the glass is lightly tapped, this indicates that the kefir is ready. This process usually takes 1 – 2 days.
5. Strain the grains using a mesh sieve. Start the process again or store the kefir grains (see notes below). The liquid (kefir water) can either be enjoyed straight away, flavoured, or fermented a second time.
Notes: You may be tempted – as I was – to reduce the amount of sugar used in preparing kefir. The sugar is used in the fermentation process (if you taste the sugar water before and after the fermentation process, you will notice it significantly sweeter at the start) and reducing the amount of sugar can end up “starving” the kefir grains, which can end up killing them.
How to use kefir water
After straining the grains, the kefir water can be consumed straight away, flavoured, or bottled as is and stored in the fridge. I personally like to store mine in the fridge, and then drink cold with a squeeze of lemon and/or some fresh herbs and ginger first thing in the morning.
I also add it to my morning smoothie, or overnight oat mixture (use in lieu of some of the milk or yoghurt you would usually use).
Or I’ll mix in some fruit and drink it through the day in place of other sugary drinks or fruit juices.
Flavourings and second fermentation
When flavouring kefir, I usually pick one or two fruits and an extra flavour such as mint or ginger, and add them to my blender with the kefir and blend until smooth. This can then be consumed immediately, stored in the fridge, or covered with a cloth and left at room temperature to ferment a second time.
There are many ways to flavour kefir water – to get you started I’ve shared one of my favorite recipes below. A great resource here for flavourings is Julia Mueller ‘s book Delicious Probiotic Drinks which also contains recipes for other probiotic beverages too if you start feeling really adventurous.
Storing kefir grains
To store the kefir grains, make up a concentrated sugar water mixture to cover the grains by about an inch – I use 4 Tbsp sugar dissolved in 1.5 cups water. Add kefir grains and a lid, and store in the fridge for up to 5 days.
Troubleshooting
Kefir grains can be quite temperamental – they don’t like metal so try to use plastic, wooden or glass utensils when handling the grains.
The time taken to ferment the kefir water will also depend on the room temperature – I’ve notice that as we head into winter here in Tasmania and the temperatures get cooler, the kefir takes longer to ferment. Over summer and in warmer climates, the kefir will ferment quicker, and therefore you may need to check for readiness sooner.
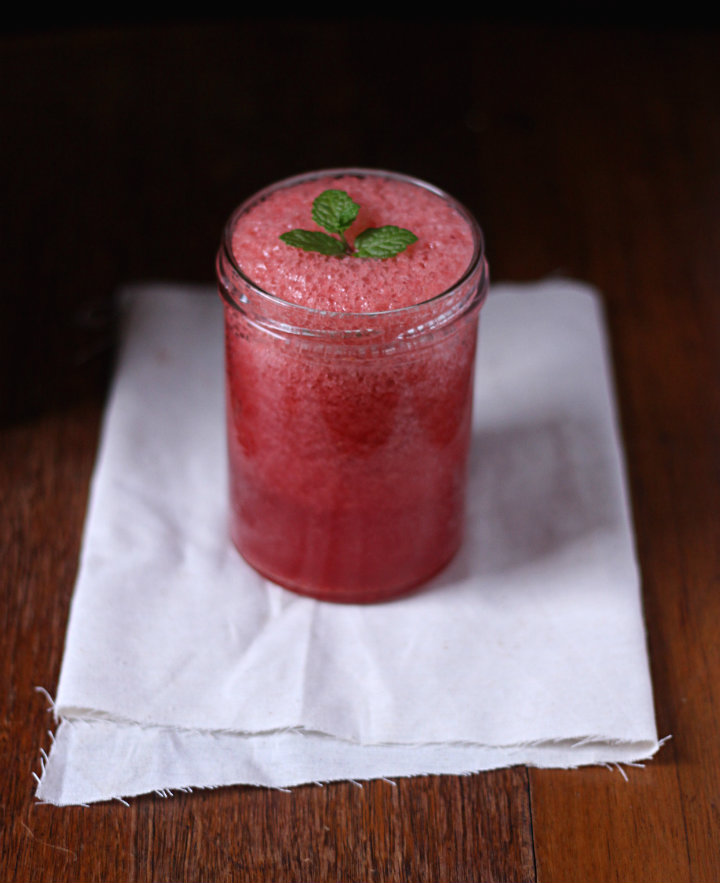
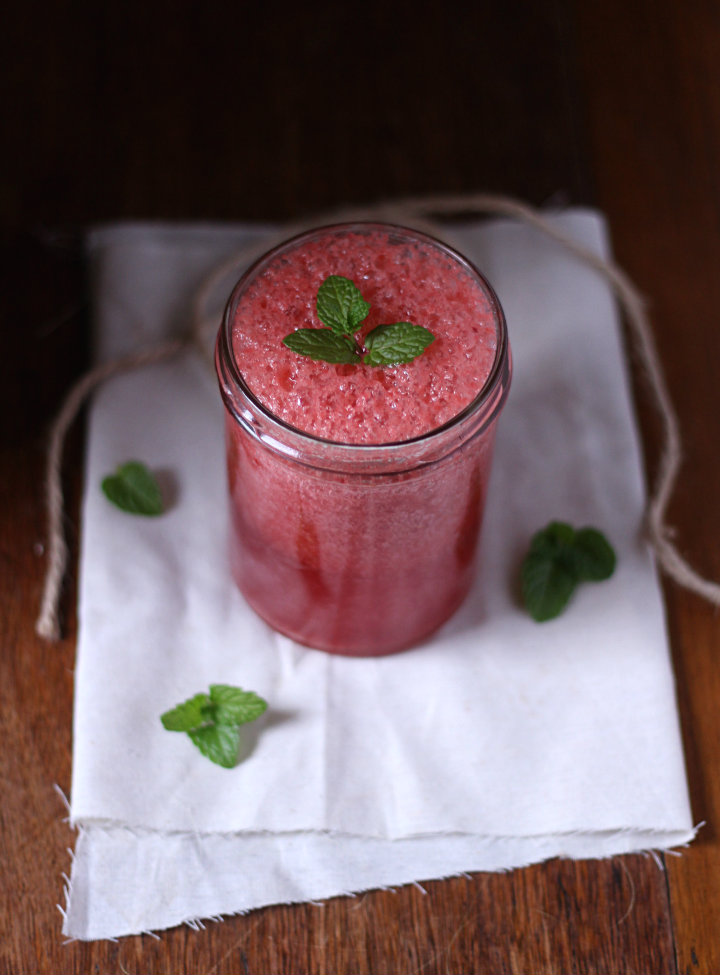
Raspberry, apple and mint kefir water
500ml kefir water
1 apple
1/2 cup frozen raspberries
2 – 3 mint leaves
Wash and cut the apple up, removing the core, and place it in the jug of a high-speed blender. Add all of the other ingredients and process until combined – the amount of time needed will depend on how powerful your blender is.
Pour into two glasses and decorate with extra mint leaves before serving.
Serves 2
Dearna, I love this kefir how-to! I’ve been searching for water kefir grains with no luck. Am currently in the US and am hoping to find some here. When I do I’ll turn to this for my resource to make at home!
Good luck with the hunt Katie – I think you should be able to find some on eBay, or otherwise there may be some health food stores in the US that sell them. You’ll have to keep me updated with how you go once you find some :)
This is great! I never heard of kefir water but what a fantastic way to get dairy free probiotics. Can’t wait to try this!
Thanks Rachael – good luck with it if you give it a go, you’ll have to keep me updated on how you progress :)
Oh what a great post Dearna! So bookmarking this as I’ve been wanting to make water kefir for weeks! Now I only need to get some of those grains! x
Perfect timing then! ;) Definitely try to get your hands on some of those little grains – the process is very simple and its a great way to include probiotics :)
I’ve never tried Kefir but I keep reading about how amazing it is! You’ve made the whole process seem much less daunting now I might have to start making my own!
It truly is great stuff – and its very subtle so you can flavour however you want :)
I love your website. Thank you, thank you, thank you. I am going to make this kefir water. Many blessing of health to you, me and your readers.
Thank you Maree – good luck with your kefir making :)
This is great information, especially for newbies like myself. I’ve wanted to try brewing kefir or komucha ever since I got a hold of Julia’s book but I haven’t found the time yet. I need to do it soon though. You make the end result look delicious!