
Porridge is one of my all time favorite breakfast options. Creamy, wholesome and nourishing, its the perfect way to start the day. There are many different ways to make porridge, and everybody seems to have their own little tips and techniques. I’ve picked up a few of my own over the years and nowadays I like to throw a porridge that’s pretty damn good, if I do say so myself!
I thought I’d share with you the steps I follow to make this killer porridge, and have included a lot of options as though I follow a rough guide, I do like to mix it up a bit in terms of the grains, add-ins and toppings I use, to suit my mood and the season.
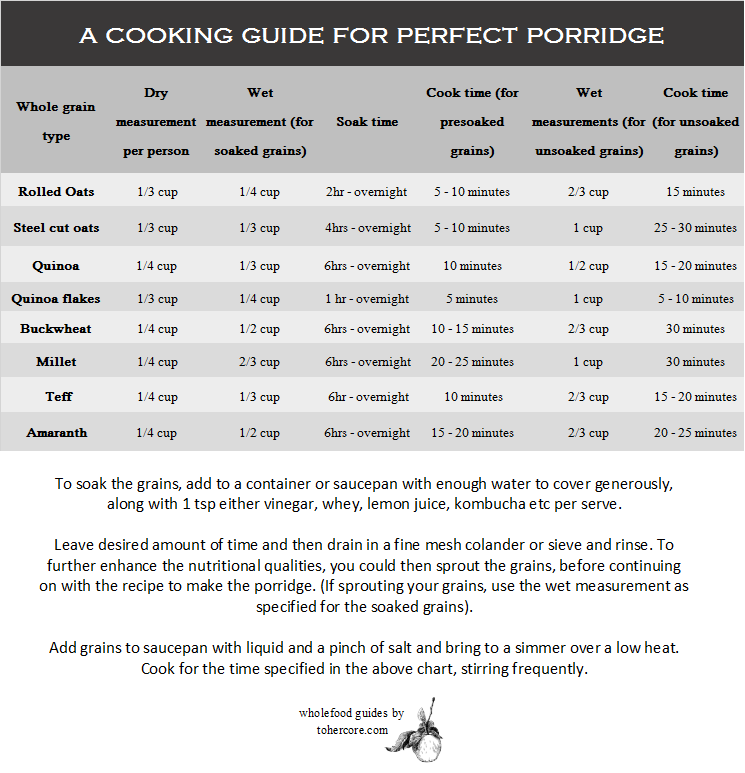
The steps can be followed regardless of the grain used, however reading through them they do may it all sounds a little complicated and time-consuming which I promise it’s not! If you’d prefer just to get straight to it though, I have included a handy guide further down with exact measurement for each of my most-used wholegrains which you can print, pin or bookmark for future reference.
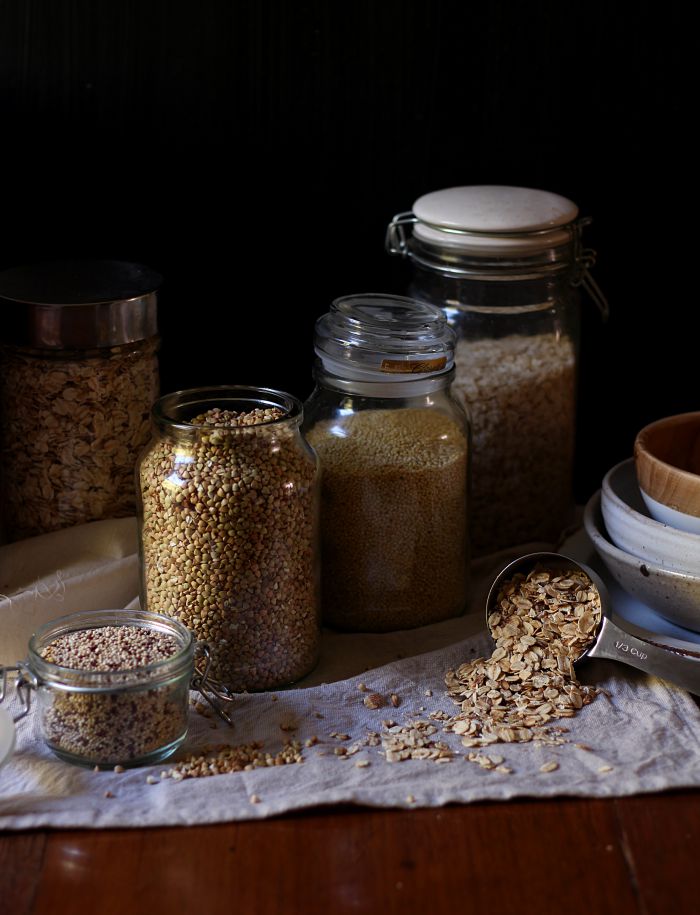
Step 1 – Soak the grains
Soaking the grains – while a little time consuming, is important for two reasons – one is that it helps to give a really creamy finish to your porridge, and also shortens the cooking time which is great if you need to prepare breakfast quickly in the morning. The other reason to soak the grains is because most grains contain anti-nutrients such as gluten, phytic acid and lectins and soaking and rinsing (and sprouting, if you want to take it a little further) helps to reduce these. Traditionally, grains would be consumed in smaller amounts than what they are in the standard Western diet of today, and they were also properly prepared so that they were soaked to reduce the anti-nutrients such as phytic acid. The phytic acid binds important nutrients, so by soaking the grains first and removing most of this, it means that the grains are more nutritious and easier to digest.
1. Add the grains to a bowl or container (or the saucepan you wish to cook them in to save on washing up!) and cover with about double the amount of water, plus a little splash of something acidic like apple cider vinegar, lemon juice, or even kefir or kombucha.
2. Add a lid or cloth to cover and allow to steep. Use the table below for the minimum recommended times, however overnight for all grains is best.
Step 2 – Rinse the grains
In the morning, you need to thoroughly rinse the grains, which may have produced a little sediment on the top of the water.
3. Use a fine mesh sieve to place the grains in, and then rinse well under running water.
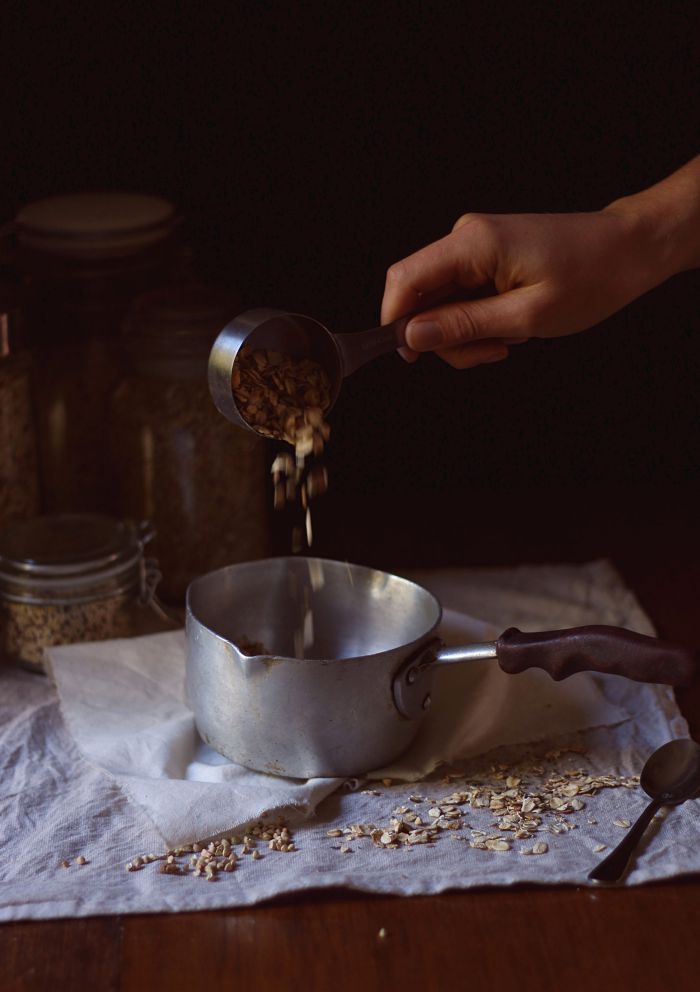
Step 3 – Toast the grains
This step is optional, but I strongly recommend trying it as it adds a great depth of flavour to the porridge. Grains can either be dry roasted, which is the method I usually follow, or fried in a little butter or coconut oil for extra flavour. Make sure you have drained as much water as possible after rinsing the grains before toasting them.
4. Heat a saucepan (size will depend on how many serves of porridge you are preparing) over medium to high heat
5. To dry-toast the grains, add them directly to the pan (ie with no oil/liquid) and toast for around 1 – 3 minutes, stirring with a wooden spoon to ensure all grains are evenly coated. You will know that the grains are done when you start to smell a lovely toasted aroma and the colour of the grains changes slightly – careful not to overcook, the grains should not be too dark in colour
6. To toast the grains in butter or oil, heat a tablespoon or so of your choice in a saucepan over medium to high heat, and once hot, add your grains and toast until fragrant. This will take a little longer than dry-toasting, roughly 4 to 6 minutes.
Step 4 – Cooking the porridge
Porridge is best when cooked at a low heat for a longer period of time, this will result in a creamier porridge. You’ll need to keep an eye on the porridge while it’s cooking and stir occasionally, especially as the liquid starts to absorb to ensure that it doesn’t stick. Frequent stirring will also whip air into the porridge making it fluffier.
With regards to the liquid, I usually cook mine in water, and then add a little milk (usually full fat dairy or coconut) towards the end (see Step 5 below). If you prefer however you can cook yours in milk, or use half and half. All milk varieties work well here too, whether you choose to use dairy, coconut, soy or nut milk. It’s really up to you and your personal preference.
Lastly, the pinch of salt is important here and helps to enhance the flavour – and don’t worry, it won’t leave you with salty porridge!
7. After the grains are toasted, reduce the heat to low-medium and add the liquid with a pinch of salt. Bring to a low simmer, and then reduce the heat as low as it will go while still (just!) simmering, and then cook the amount of time specified on the chart below.
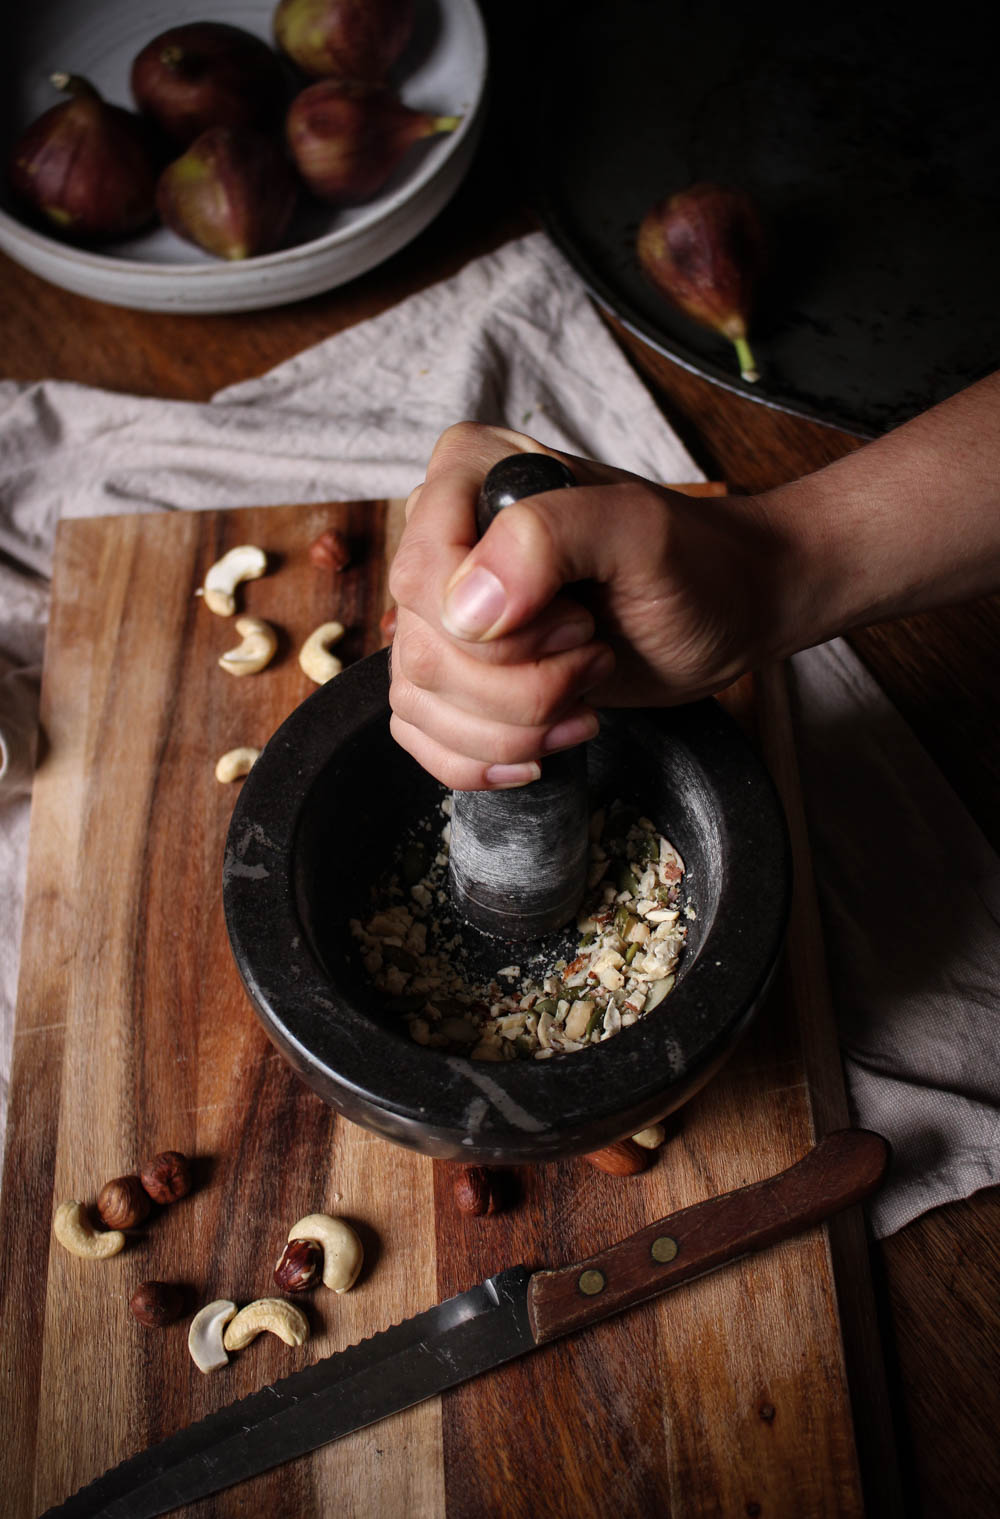
Step 5 – Flavour the porridge
At this point, your porridge will be nice and creamy but slightly bland. So this is the fun part, where you get to add your flavourings. You can keep things as simple as you like here, or get a little adventurous if you want!
To sweeten the porridge add 1 tsp sweetener of choice per serve – maple syrup, honey, coconut sugar etc. Alternatively add a tablespoon or two of mashed/stewed fruit such as banana, apples, stewed dates or apricots.
For extra creaminess add an extra tablespoon of milk or cream of choice per serve. Note that the higher fat content here, the creamier the result will be, so if you use dairy or coconut cream, or thick homemade nutmilk your porridge will be creamier than if you use a store-bought low fat variety.
For extra flavour add one or more of the following (all measurments are per serve of porridge, so double/triple etc accordingly) 1/4 tsp cinnamon (per serve), 1/2 tsp vanilla, 1/2 tablespoon raw cacao, 1 tablespoon shredded/desiccated coconut
For an extra nutritional kick add some cooked veggies, like cooked and mashed pumpkin, sweet potato or even beetroot. You can also grate in fresh zucchini or carrot for carrot or zucchini cake porridge, however if you choose to do this add it a little earlier on when you first start cooking the porridge to allow the vegetables time to cook through. I use my Microplane zester here to grate the veggies as it gets them super fine so that there almost melt in and leave no noticeable chunks in the cooked porridge.
8. In the last few minutes of cooking, add your desired flavourings, and stir through to combine.
Step 6 – Dress it up a little
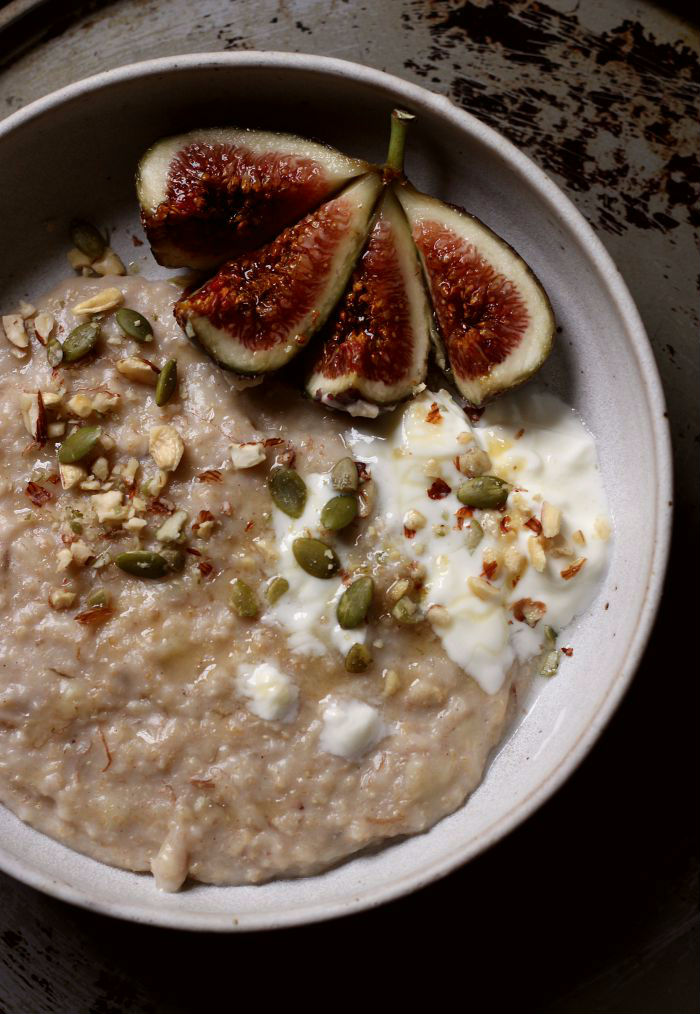
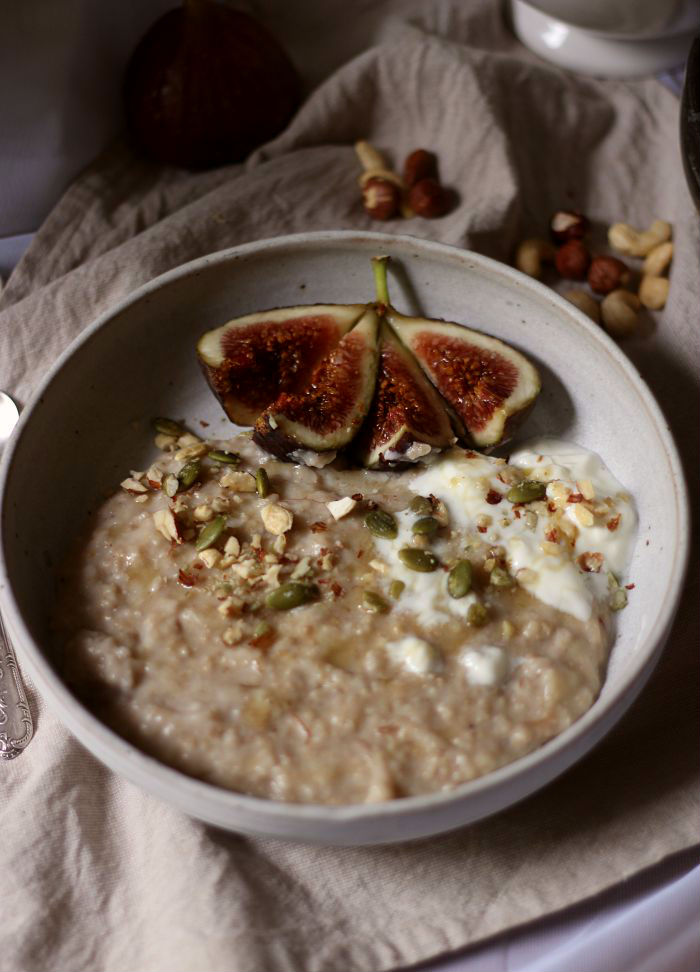
Once you porridge is cooked, you can serve it however you like. In summer, I like to use fresh summer fruits like berries and mangos, with a scoop of greek yoghurt. In winter, a drizzle of coconut cream, some honey, stewed fruit and a sprinkle of nuts. There are too many options to list them all, but I’ve tried to include all my favorites below.
- Fruit (fresh, stewed, dried)
- Berries (fresh, stewed, dried)
- Yoghurt
- Coconut cream or milk
- Chopped nuts
- Mixed seeds
- Shredded or shaved coconut
- Cinnamon
- Honey
- Maple syrup
- Toasted granola
- Cacao pops
- Superfood smoothie topper
Step 7 – Enjoy!
The guide below is intended to be used as just that – a guide – which you can use to help you master your prefect bowl of porridge. As with all cooking, getting it just right depends a lot on you and your personal preferences so I encourage you to play around with this – try different grains and flavourings to see which ones work (and don’t work) for you, add a little more (or less) liquid to get the right consistency, or try sprouting the grains for an extra nutritional hit.
So there you have it, the complete guide for how to make perfect wholegrain porridge. Or at least, how I like to do it. If you have any other special tips or flavour combinations that make your morning bowl of porridge that something special, I’d love for you to share them below.
And if you are after some specific recipes for wholegrain porridge, here are some of my favorites –
Apple cinnamon crock pot steel cut oatmeal – the Roasted Root
Banana almond teff porridge – Eating Bird Food
Orange and almond millet porridge – to her core
Creamy coconut millet porridge – Cook Republic
Banana pecan amaranth porridge – Naturally Ella
Pumpkin pie amaranth porridge – My New Roots
Quinoa chia blueberry porridge – One Handed Cooks
Apple Cinnamon Breakfast Quinoa – The First Mess | Earth Sprout
Winter buckwheat porridge – Green Kitchen Stories
Deluxe buckwheat porridge – Tales of a Kitchen
This is brilliant! I simply love it. I really want to try other grains soon, because I love porridge and right now I only use buckwheat and oats. So this comes in wery handy! Thanks a lot :)
No worries Josefine, hope you find it useful :)
What an awesome post. I love porridge – I have been eating the stuff since I was really little and it never ever gets old! I find soaking the oats really makes a different but I have never toasted them before hand. Definitely trying it!
Thanks Lauren. You should definitely try toasting the grains first, it makes them taste so much better :)
I tried recently soaking whole oat groats for 2-3 days, rinsing twice/day( They looked like they had the beginning of a sprout( a little white nub)) Then slow cooked them. Then put cooked groats in a mason jar to soak in milk. An experiment of sorts. Could you tell me if this is a good idea,nutritionally??? Help, I just,thankfully, stumbled on your site.
Hi Diana, I’m not really sure about any health benefits of soaking oat groats in milk sorry. In general, soaking in slightly acidic water is reportedly beneficial nutritionally, as it helps to break the grain down and allow for the absorption of nutrients. You can definitely soak oats in milk and eat as “overnight oats” or bircher muesli style which is very yummy :)